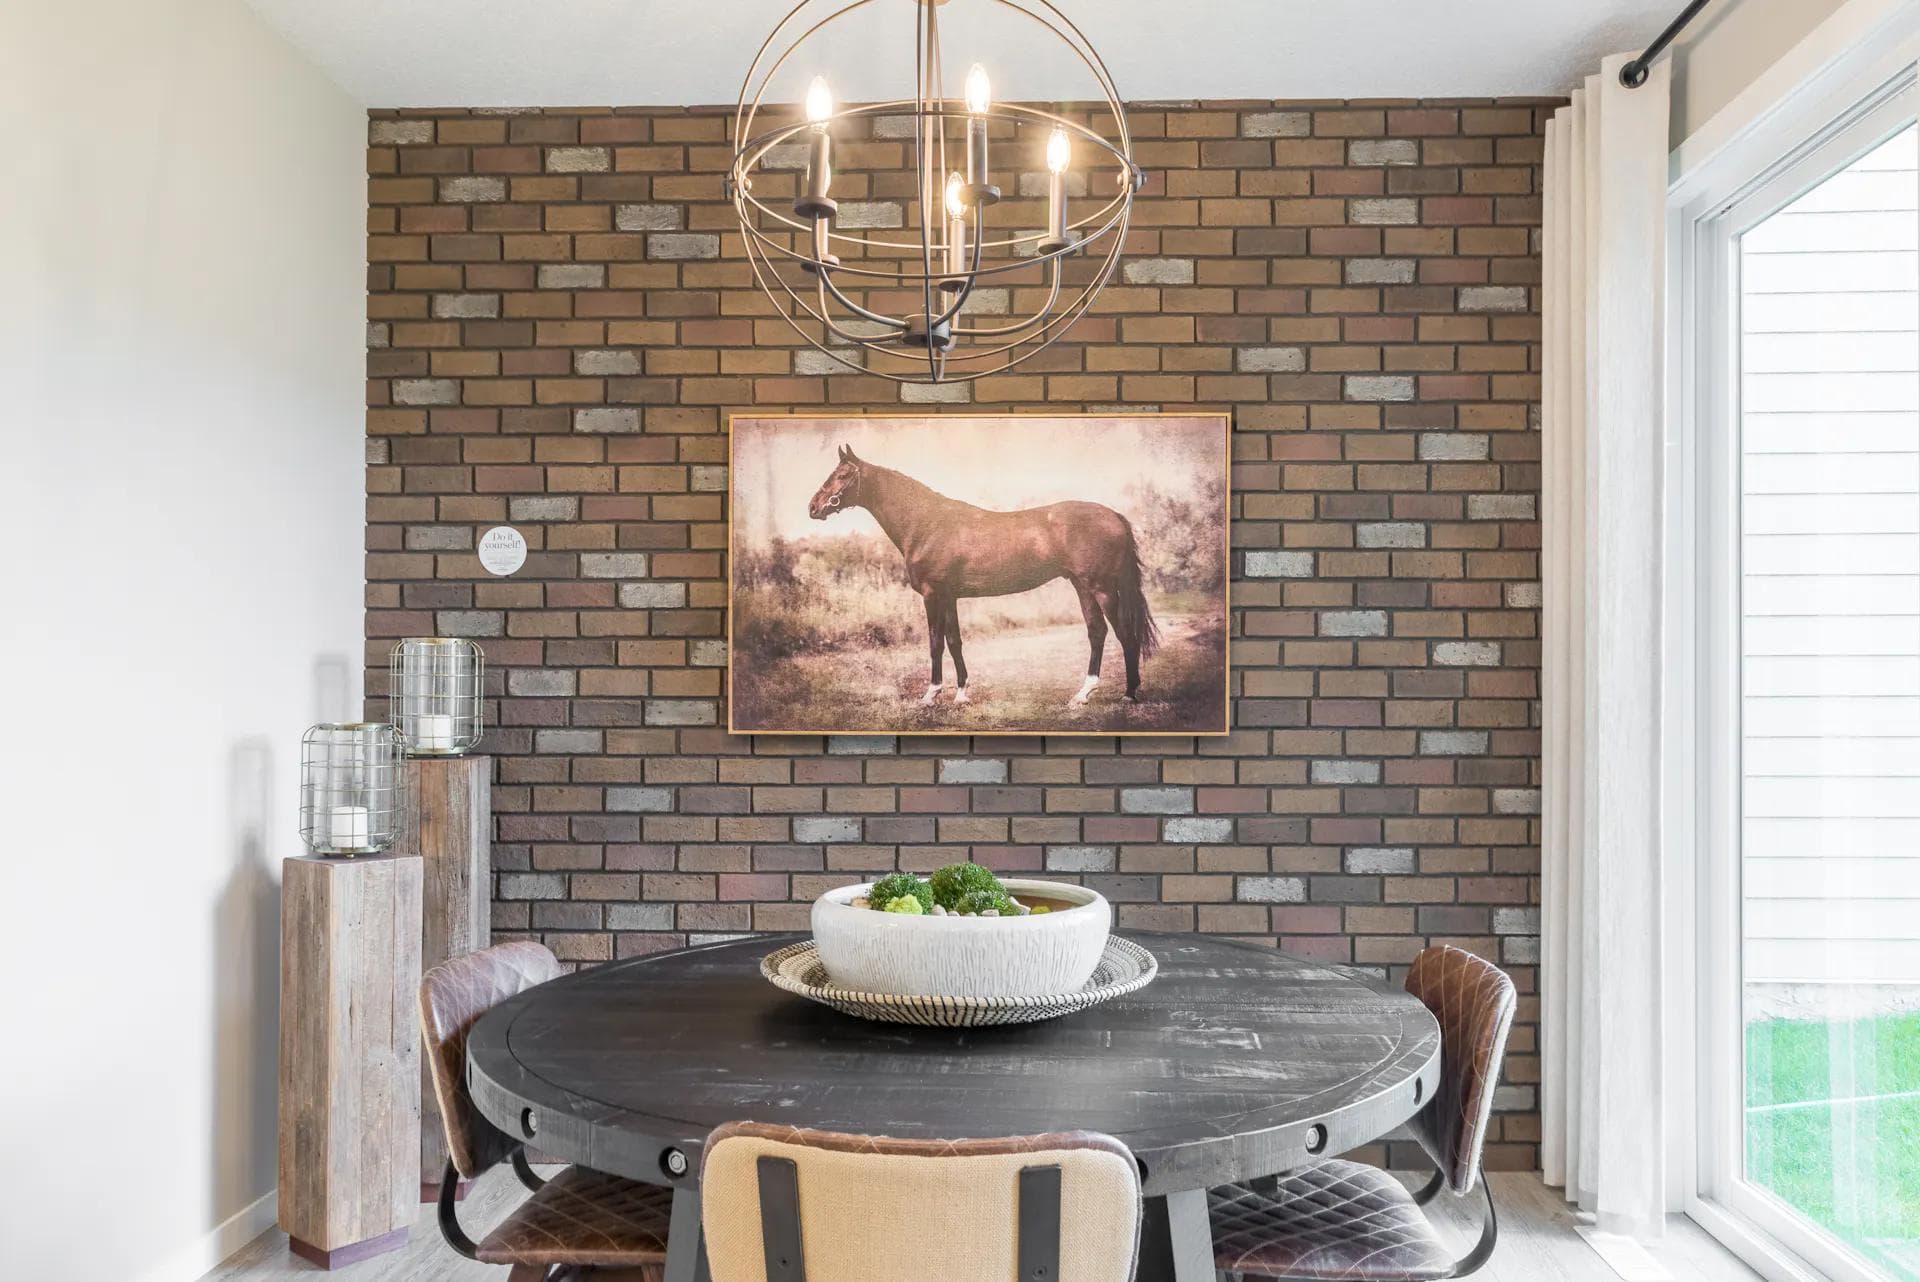
Old-World Charm
A brick feature wall, using cladding like ClassicBrick, adds historical charm and warmth to a room by following a simple process of measuring, cutting, installing, and customizing.
A Brick Feature Wall Adds a Splash of History and a Dash of Warmth
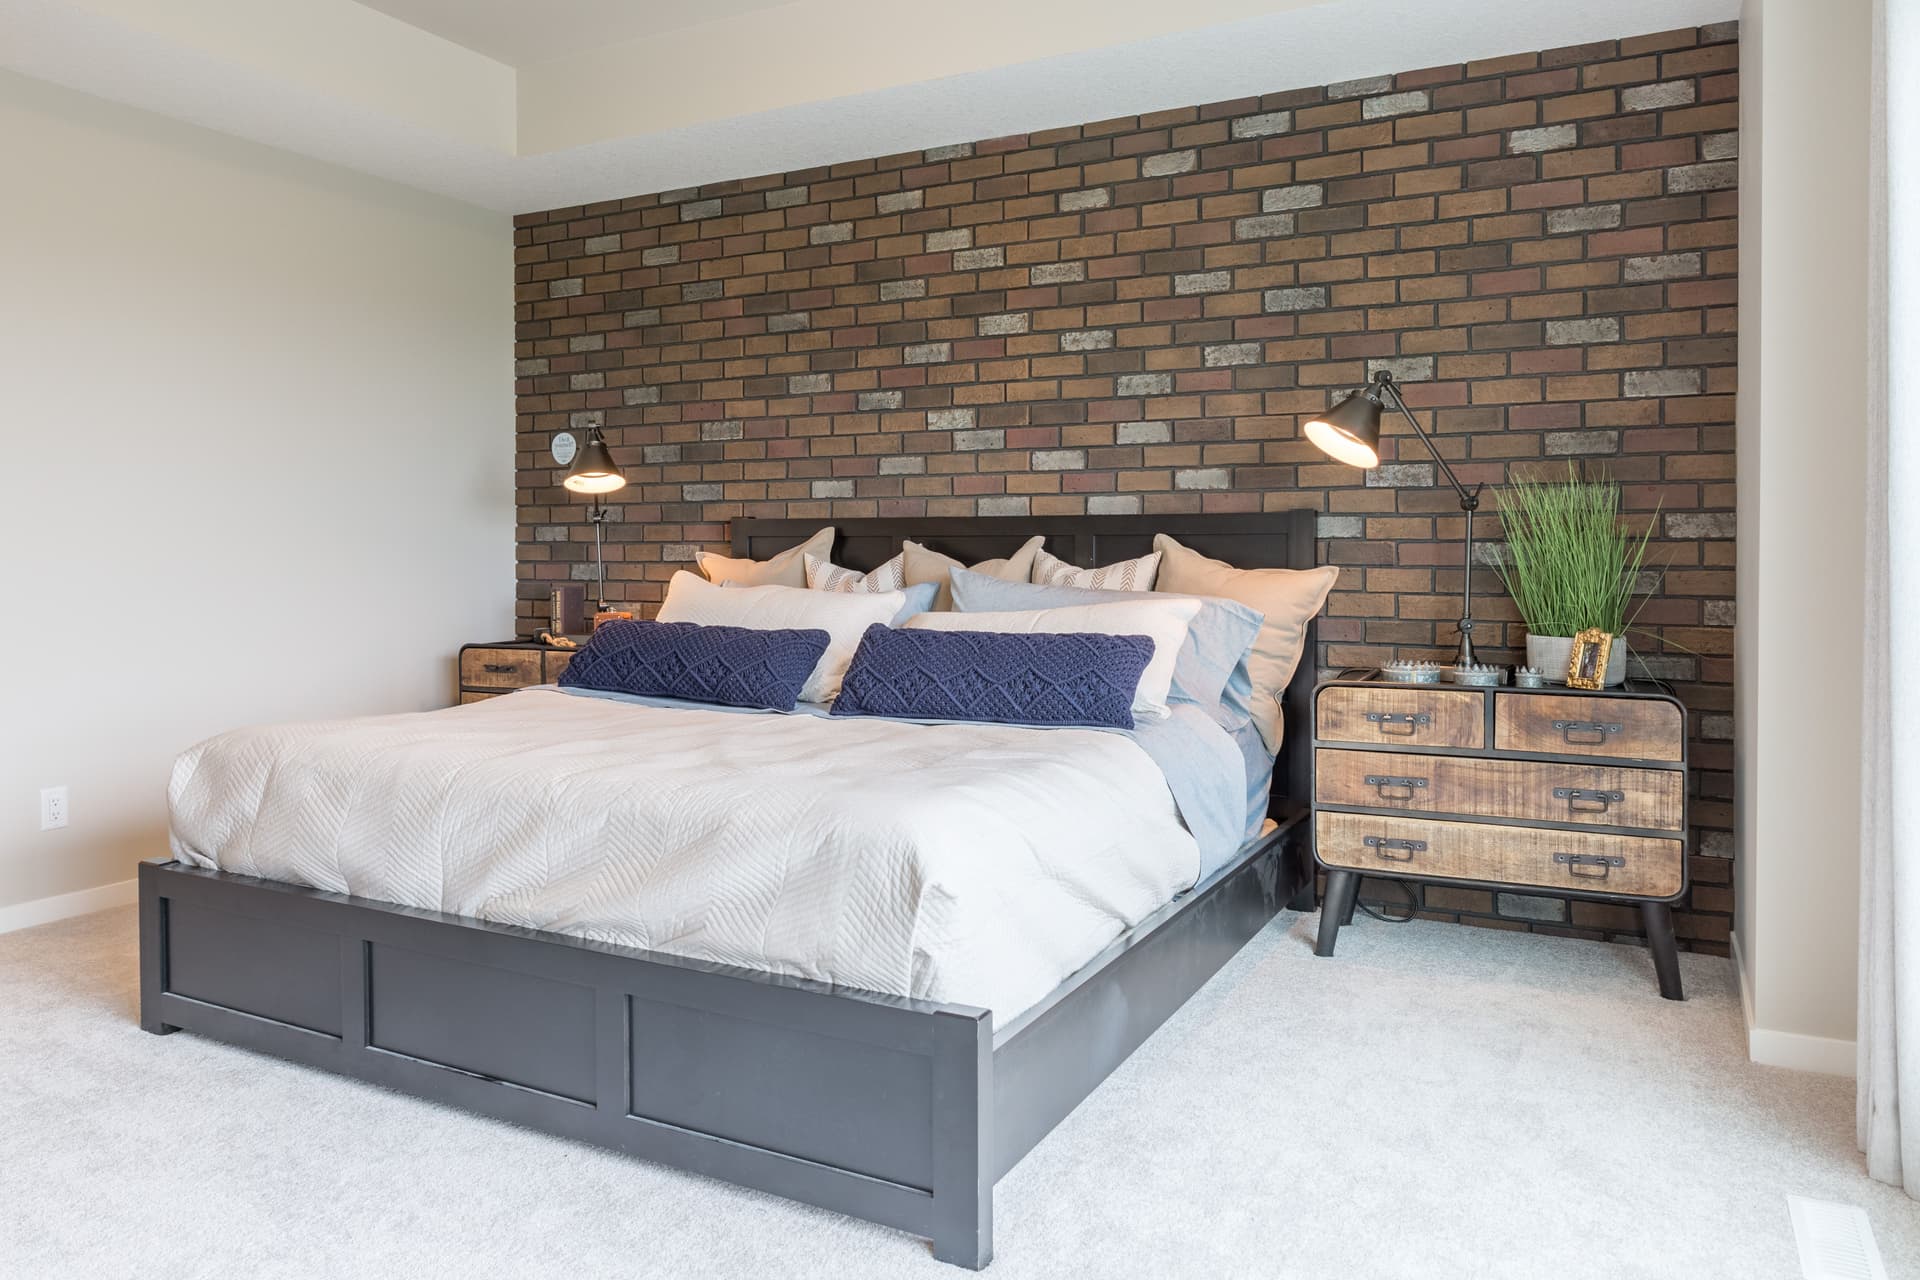
In our Kalos show home in Mahogany we whipped up a warm bedroom space, loaded with historical charm, with a brick feature wall as the main act. Check out how we created this rich and authentic look.
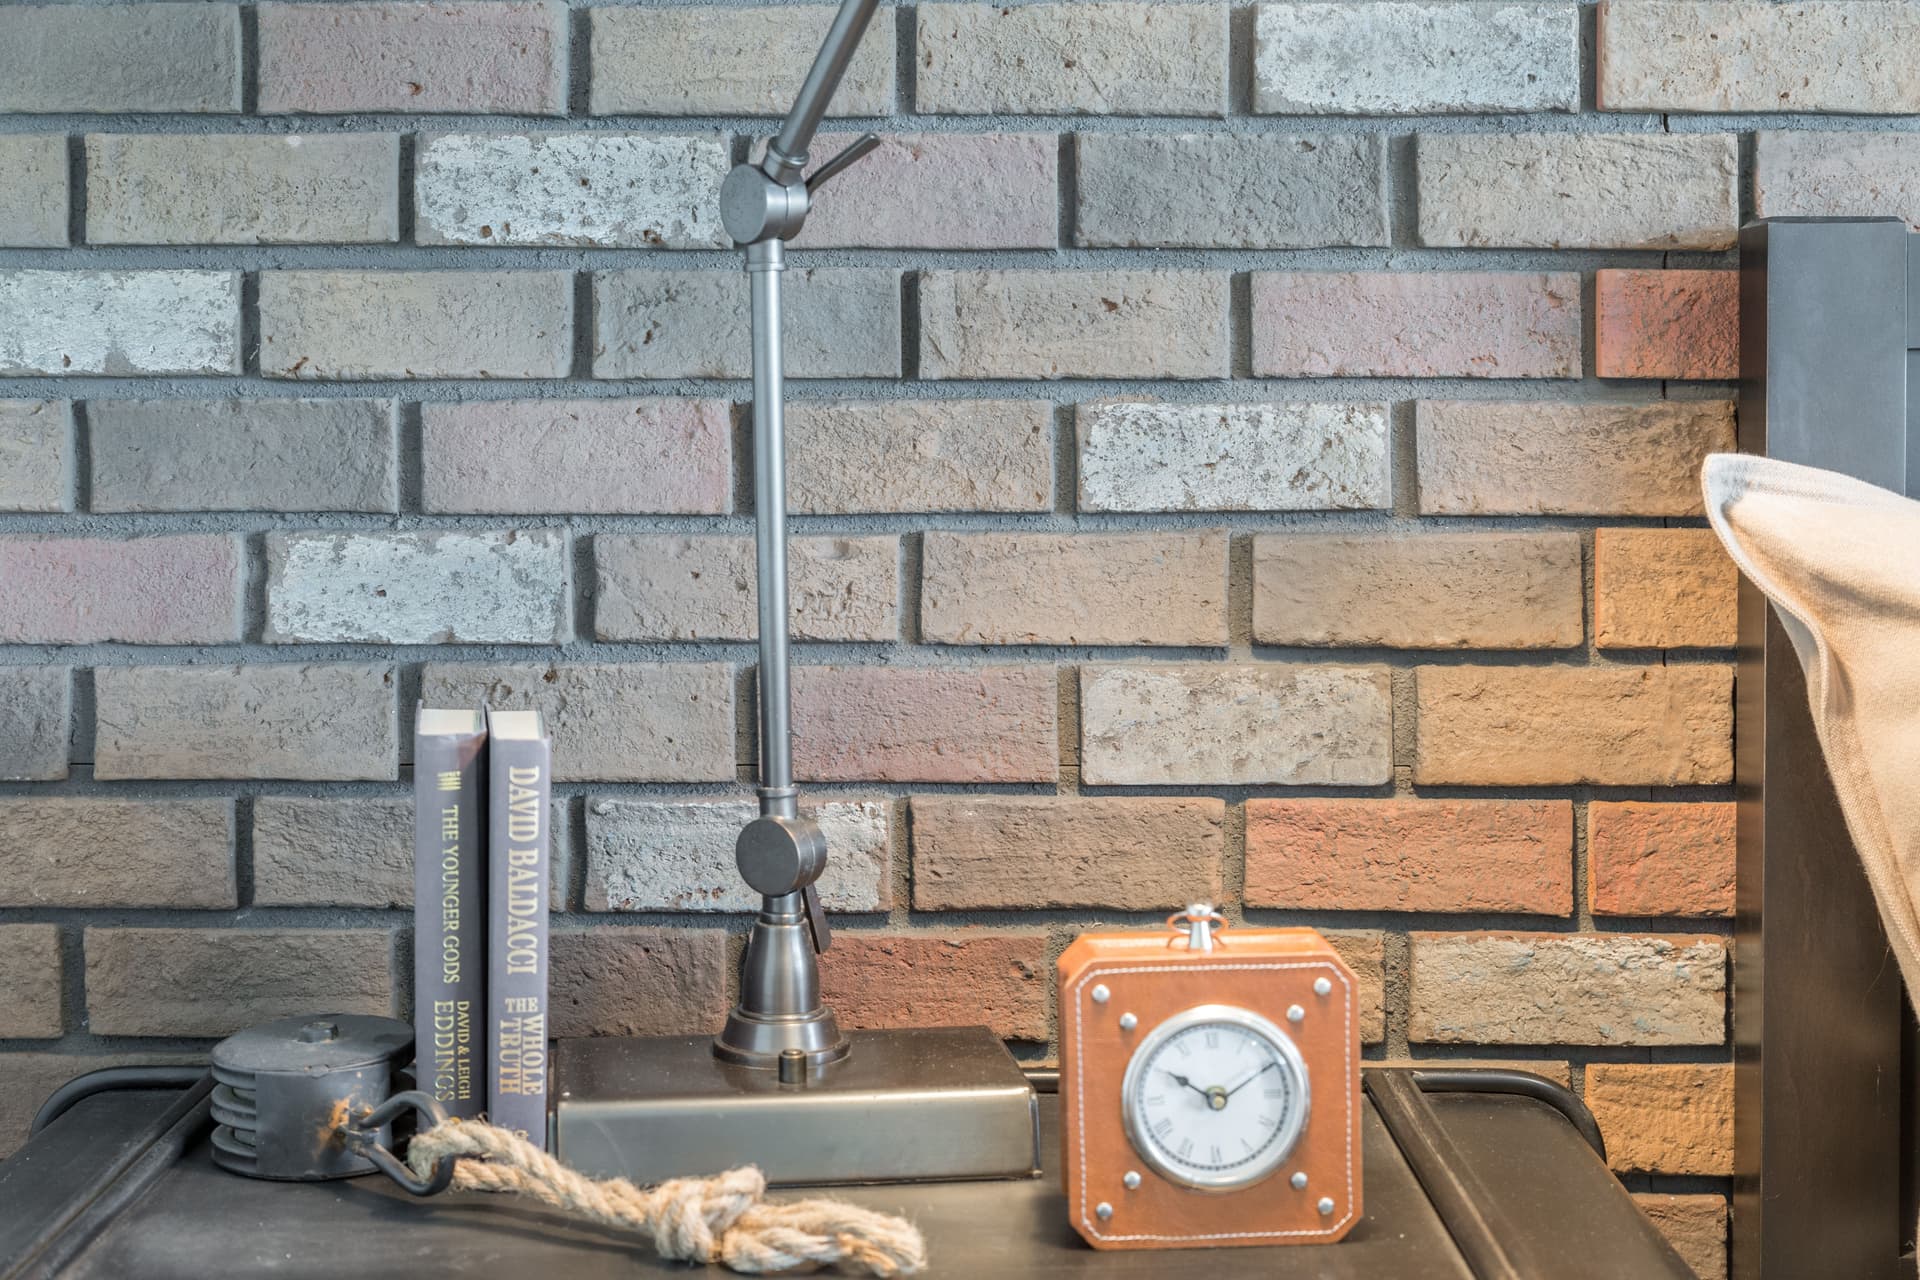
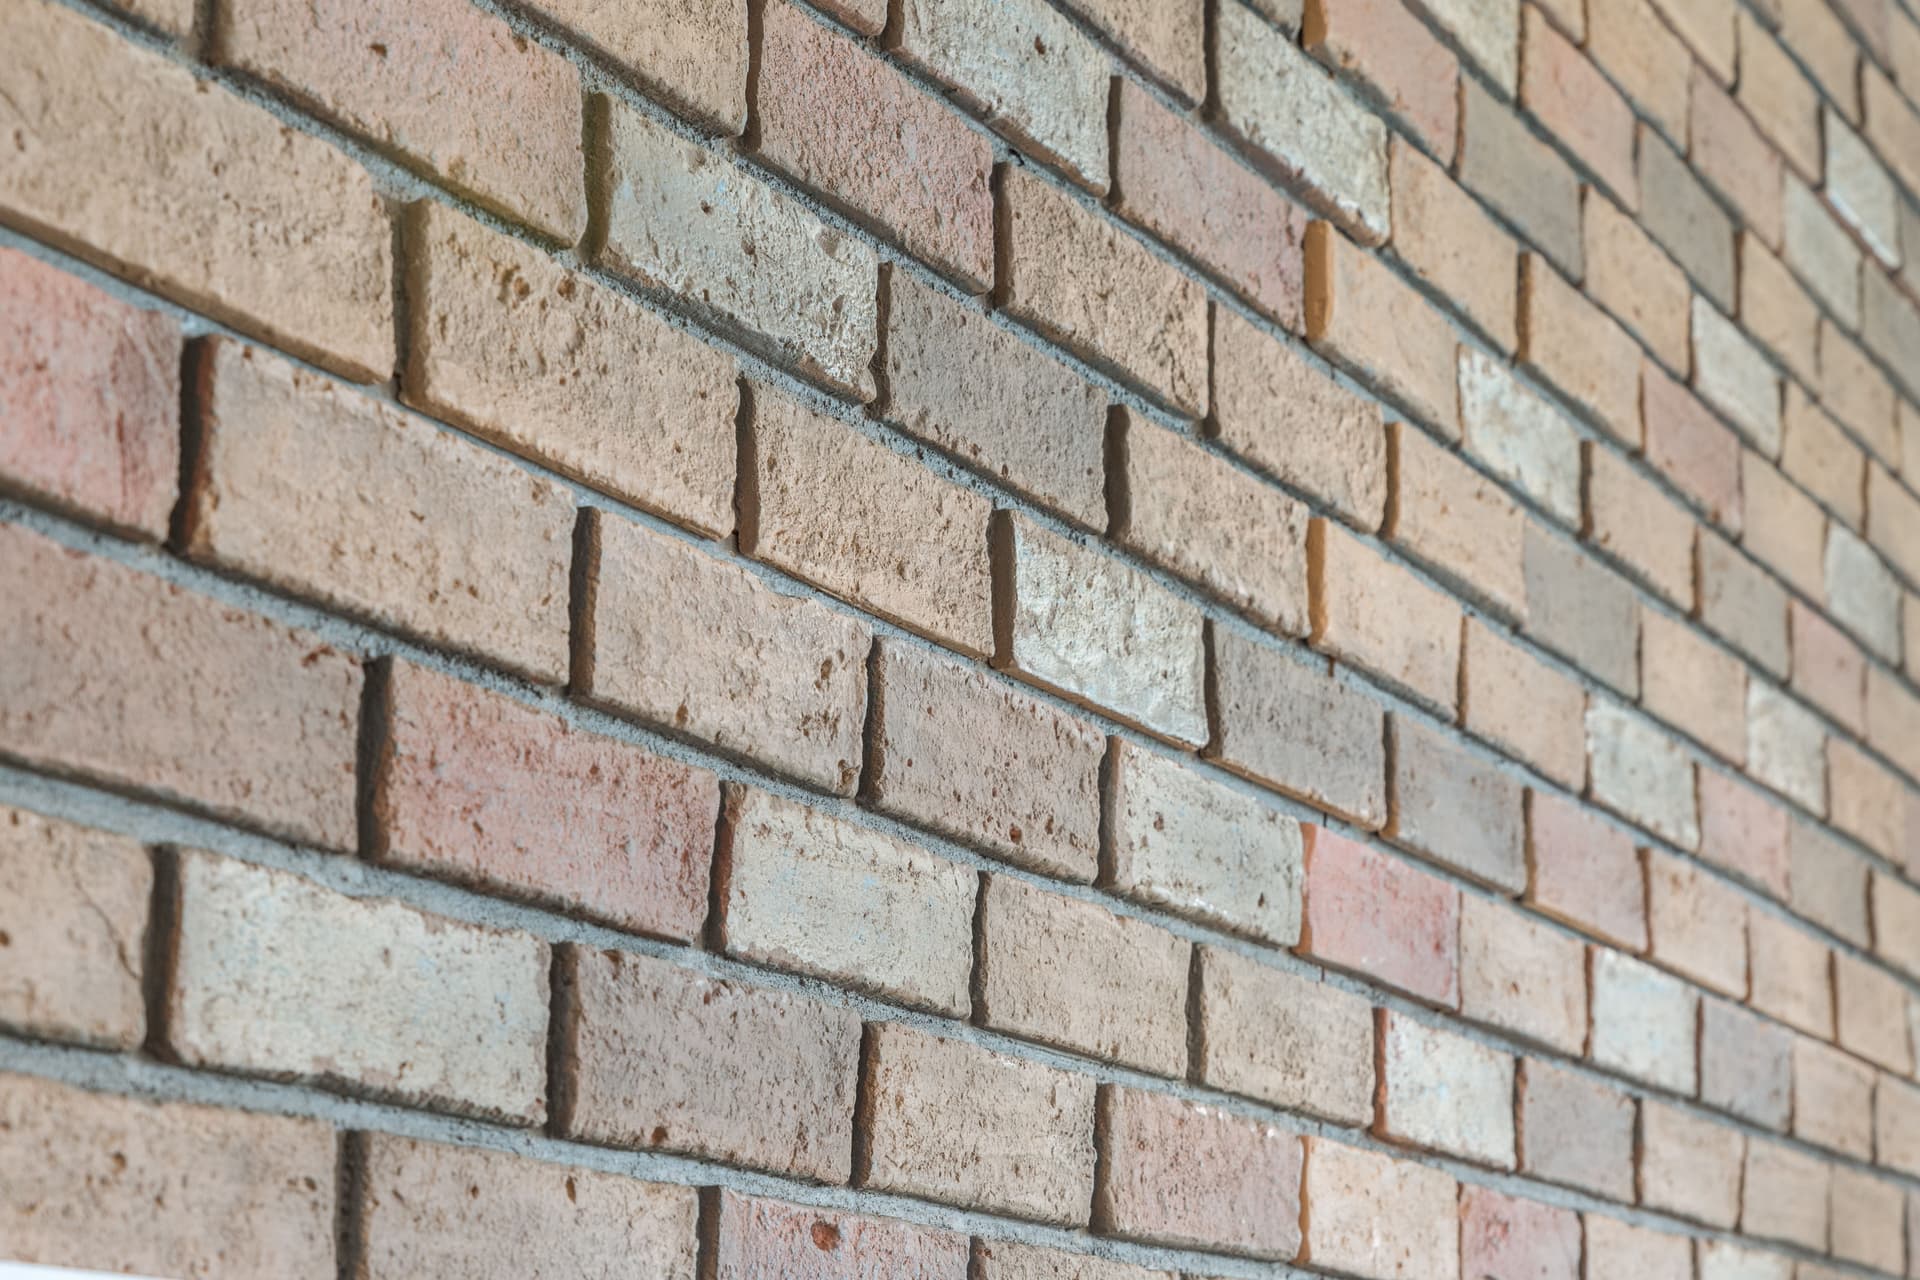
- Choose your feature wall and pick your cladding. We used ClassicBrick by Hour Wall (www.hourwall.com). It's available in five colours from vintage white to reclaimed red and old Italy, giving lots of choice and flexibility.
- Collect your tool kit. Strap on your tool belt and get ready for some fun! Tools needed include a drill, miter saw and or a table saw, measuring tape, metal square, ruler, pencil, level, utility knife and a 10 oz. caulking gun. And don't forget - safety first, so hunt down some safety glasses, earplugs and a dust mask.
- Create a pattern: Measure the wall and then define the wall perimeter in tape on a flat floor surface. Next lay all of the panels out and create a pattern that matches the configuration of the feature wall. Ensure that the room is cool as the materials may expand slightly in heat.
- Measure and cut. Mark panels from the backside using a measuring tape and pencil, using a straight edge to make a cutting line. Then use a handsaw or a miter saw to make the cut. To cut outlet and fixture holes, use a hole saw or high speed drill and then finish with a utility knife for precision.
- Install. Make sure that the wall surface is clean and free from moisture, loose materials and oils. Use a wet sponge and then wipe dry with a clean, lint-free cloth. Begin from the right, upper edge of the wall and apply panels to the left. Cut a straight line on the first panel to fit snuggly against the wall and work towards the left, fitting the panels together as tightly as possible to minimize any seaming or gaps. Use a level to ensure that the foundation row is straight.
- Fasten the panels. Use finishing nails applied to inconspicuous areas like the indents, grout lines and top and side shiplaps. When finished, if any nail heads peek out, dab on a touch of coloured caulking. For extra adhesion consider using a high tack, heavy duty construction adhesive as well, but first lightly scuff the back of the panels with a utility knife, carpenter's rasp or sandpaper to provide extra grip.
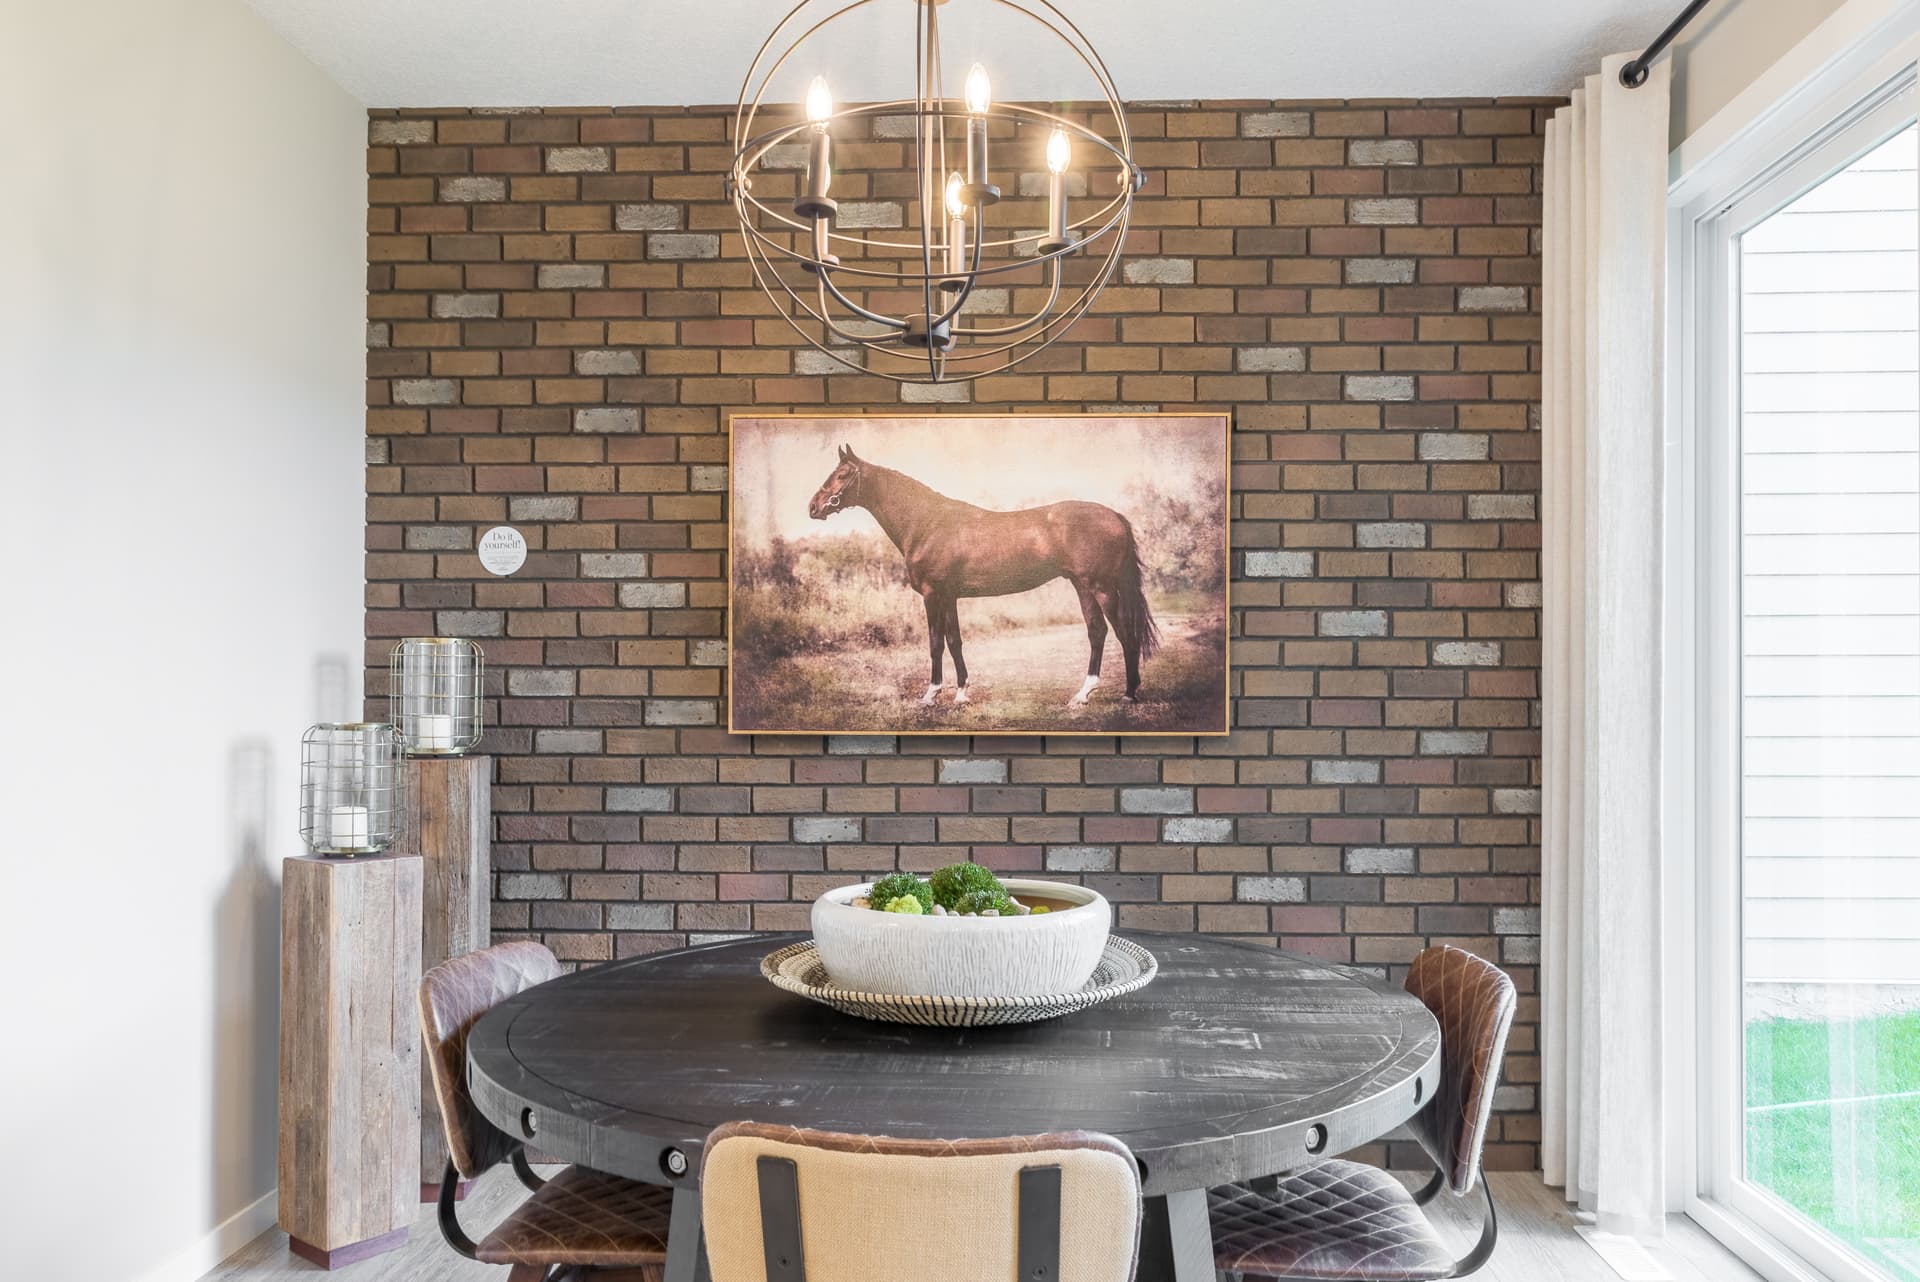
- Customize. Now that the wall is done, add some additional eye candy - a rustic barn wood frame, a gilded mirror, open shelving or colourful art can make it an original.
