Hopewell’s How-to Install a Plank Wall
Enhance your home with a modern rustic plank wall by following these steps: gather tools and materials, prepare and measure the wall, level and attach planks, fill nail holes, prime and paint for a stylish and textured focal point.
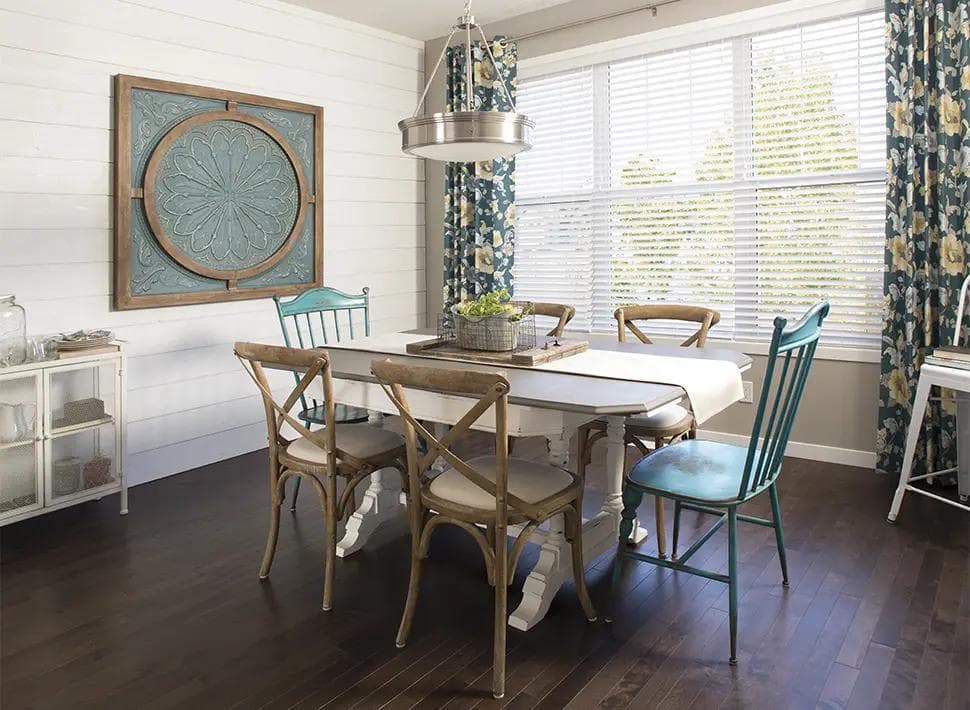
Adding a modern and rustic plank wall to a dining room, living room or bedroom can really add some texture and a focal point to the room. We've been known to feature stylish plank walls in our show homes, and this is a great way to replicate the look in your own Hopewell home!
Here's our step-by-step instructions to complete this relatively easy project.
- Gather the required supplies: Tools needed include a stud finder, 1 x 6 x 12 tongue and groove planks, a measuring tape, level, miter saw, nail gun and nails, wood filler, sandpaper, caulking, paint and a paint brush.
- Prepare your walls: Clear the wall and the space to prepare for planks. Take off electrical covers and anything else that is adhered to the wall. Then using the stud finder, mark where the studs are across the whole wall.
- Measure & cut: Measure your wall and decide how to best fit your planks. A good approach is to draw out what the planks would look like on a piece of paper. To help make your decision, compare the options you're considering. It will look best to have any seams alternate on the wall. Cut your boards using the miter saw.
- Level your planks: Start at the bottom of the wall with a 12-foot plank. Place the first plank on the far left side of the wall on the floor with the smooth surface out. Use a level to check to see if the board is level when it's sitting on the floor. If level, continue to step 5. If it's not level, use a shim to make it level before proceeding
- Attach the planks: Use a nail gun to nail in your board. You will need to apply pressure to the board so that each nail goes in well. Place two nails in the board at every other stud. Cut the plank out around any electrical outlets, before nailing it in. Repeat up the wall until finished.
- Fill the nail holes: Using your finger and wood filler, fill in the nail holes, blemishes and seams (if you needed two boards to complete one row on your wall) in the boards. Let the filler dry. Once dry, sand to get a smooth finish.
- Prepare for painting: Prime your plank wall using a high-hiding primer. Make sure to not overcoat your brush, because you want to be able to see the seams in the wood. Then use interior paintable caulk to caulk the edges of your wall and the top where the board meets the ceiling. This gives your wall a more finished look.
- Paint: Choose a paint colour of your choice and paint your new plank wall.
Divine DIY adding style and charm to your room! #LiveHappyLive Hopewell